How to upgrade your business communications in 8 steps
Choosing a new business phone system or business communications platform can be a daunting task. With so many platforms to choose from and a complete dictionary of industry jargon to decipher, it is no wonder that many business owners are left scratching their heads. Couple this with the ever-increasing pressure to digitally transform and keep pace with today’s highly demanding customer, business owners can be forgiven for feeling the pressure.
That’s why we decided to keep things simple and put together our 8 Steps to Upgrading Business Communications guide.
These days, the digital transformation and cloud communications are on the tip of everyone’s tongue - and with good reason. The benefits of cloud phone systems are plentiful and the migration away from legacy technologies is forcing businesses to transform. That said, a cloud or hosted PBX is not always suitable and alongside defining the required feature set, the question of cloud vs on-premise is one of the first questions to answer.
 pascom Business VoIP Phone Systems
Once you’ve decided which way to go as a business, whittling down the list of potential suppliers becomes significantly easier as unlike our business phone system solutions, not all business communications platforms are available as both cloud and on-premise solutions or if they are, each deployment type might offer differing feature sets.
Finally, when deciding on a vendor, it is essential to ask hard questions about the setup and on-going management. If you don’t, you run the risk of being left in the dark. This is particularly important when it comes to configuring and managing your new platform correctly as this could well adversely affect the effectiveness of your new business communications platform. Therefore, use the following seven steps as a reference guide and go out of your way to find out whether they offer managed services, how good / detailed their setup assistants and documentation are and what support services they offer.
If they offer a free or trial version, make sure you take it for a test drive. Investigate all aspects of the following seven steps to discover just how simple and easy the system setup is. Remember the key to success is: test, re-test, and test again. This will highlight options and issues before moving on to your operational deployment.
Step 2 - Effective, Simple User Management
Now that your testing is done it is paramount to configure your user management before going any further with your productive phone system setup. It is your employees who use your business communications platform daily, so this is critical.
In days gone by, managing them was an arduous, repetitive headache for IT and system managers who often had to manually add individual users to the platform. Nowadays, business applications are predominantly IP based, meaning they can talk to each other. For IT and phone system managers, this is excellent news as it has to potential to eliminate several headaches including user management and therefore free them up for other important tasks, but only if the applications are given the right interface over which to communicate.
As such, it is our opinion that user management should be centralised and automated - in other words, as simple as possible. As a business, it is more than likely that you already have a central user database, i.e. Microsoft Active Directory, LDAP, Univention’s UCS platform or even a CSV file. So why should you or your IT admin manually enter the same information into your phone system? Especially when, by using the corresponding connector profile, the initial import can be configured and tested in a matter of minutes. Once done, future imports can then be automated, therefore supporting phone system managers in saving time, hassle and more importantly helping them ensure the validity of the data by only needing to maintain one dataset.
There are other benefits too. If your user database is stored in AD, LDAP or UCS, it is possible to authenticate your users against these applications and in turn enhance system security by facilitating identity management and global password polices. This is a plus for both admins and users as passwords are stronger, changed more regularly and are applicable across all connected business applications. A further benefit is that it is also possible to manipulate the datasets to include and configure additional information such as office extension numbers (Direct Inward Dials - DIDs), adding desktop VoIP phones and mobile devices as well as team membership settings and hotdesking location settings.
Step 3 - Eliminate Phonebook Management Headaches
An even bigger headache for system admins is phonebook management. Multiple data sources, duplicates, outdated information - it’s enough to give most managers and users a migraine. So wouldn’t it be nice to break down these information silos and have the ability to centrally manage and access to all your customer contact information? Well in the world of business communications, there is no better application to do this with than your phone system, as it is one of the few platforms that all employees need access to.
To give an example, let’s assume for a moment that all your customer contact information is stored in Microsoft Exchange or Office365. By choosing the right phone system with appropriate connector templates for said platforms, it is possible to import and automatically synchronise all your contact data with the phone system.
Beyond on this, modern business phone systems deliver considerably more than simple business telephony tools. Thanks to the seamless integration with 3rd party applications, additional information such as customer number, SLA levels, language and so on can be attached to the contact information and then displayed to your phone system users in the form of call labels. Doing so will further support your employees in delivering exceptional customer service and boosting customer satisfaction.
The benefits are twofold; as an IT manager or business owner, you need only maintain a single central database, saving time and administrative hassle. As for phone system users, they now have a single point of access to all your critical customer contact information - all on their preferred device, from anywhere and at any time using the business communication applications to be deployed in steps 4 and 5.
Therefore, it hardly comes as a surprise that within the Unified Communications and Business Communications industry, there is a lot of talk about the importance of seamless integrations and Application Programming Interfaces (APIs). Such integrations are critical aspects of any business communications platform. With them, it is possible to integrate critical business applications and facilitate the flow of information and therefore making it accessible where and when it is needed.
Step 4 - Deploy Desktop UCC Clients
For testing purposes as an IT manager, it might be prudent to deploy a desktop client or two during your evaluation phase. As such, it might appear that deploying Unified Communication and Collaboration clients might be out of place at step 4, but it’s not. In this step, we are talking more about your productive business communications environment as opposed to your test setup.
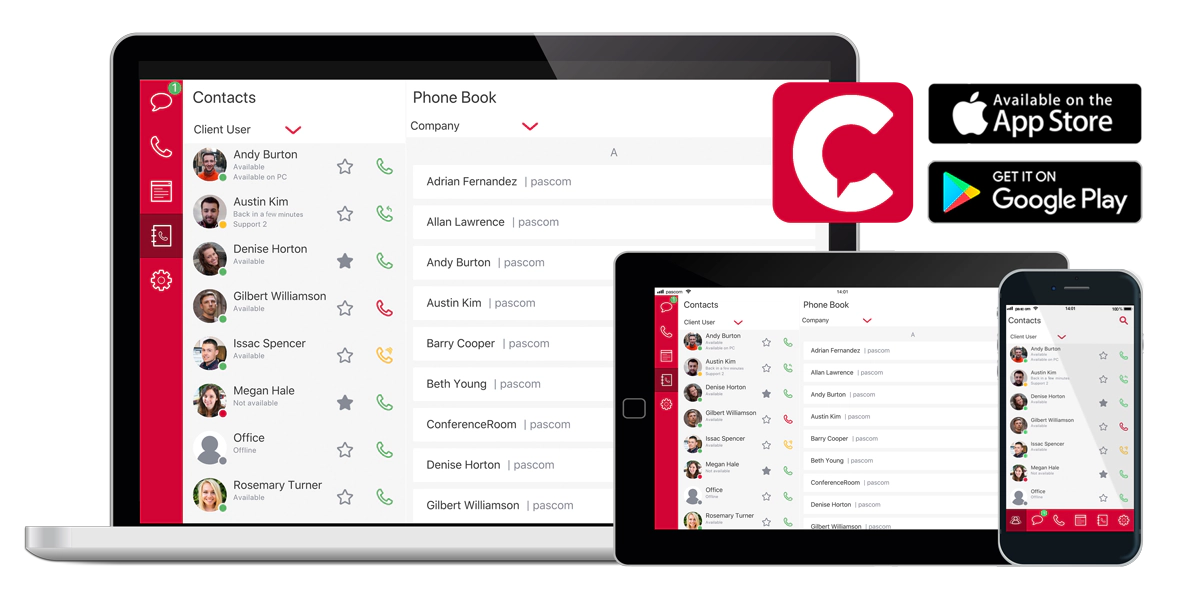
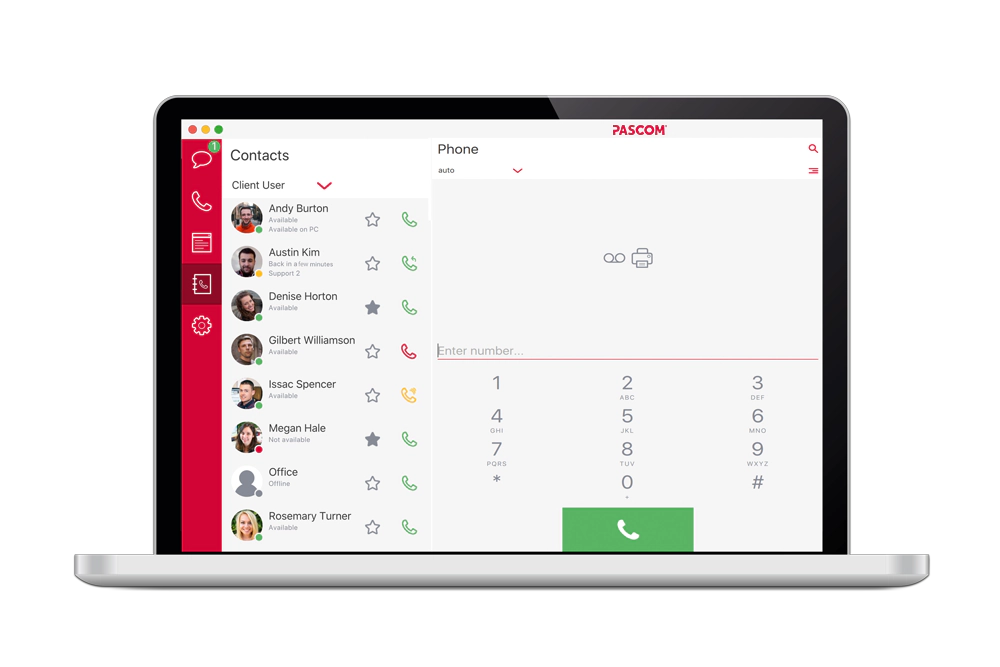
 pascom Desktop UC Client for Windows, Mac und Linux
Once again, when it comes to UCC clients, not all vendors are equal. While some business communication platform vendors, such as pascom, offer native desktop clients for Windows, macOS, and Linux, others only offer clients for Windows and/or macOS. Then there are the vendors who rely on 3rd party applications. Finally, there are those vendors who offer web browser-based platforms. If possible, stay away from 3rd party applications as this involves another supplier, meaning additional costs and possible support complications. Another tip would be to avoid web-based apps, as they are not as reliable for real-time business communications as should a user close their web browser, they will effectively become offline and no longer reachable.
After ensuring your chosen business communications vendor offers the appropriate clients to match your IT landscape, the next step is to take a look at how best to deploy them. With pascom, there are several options, as documented here. However, assuming you do not have any special requirements, such as terminal server setups, then by far the easiest option is to invite your users using our inbuilt invite tool which directs all your users to our step-by-step user setup guide. This enables a self-service option, which reduces administrative hassle and greatly speeds up the overall deployment time as system admins no longer need to manually send e-mails with download links or, worse still, go to each workstation and perform the installation.
Step 5 - Mobilise Your Team With Mobile UC
Thanks to cloud technologies and SIP (Session Initiation Protocol), employee mobility and working from anywhere is now an affordable reality. Beyond this, it has become essential for any company looking to minimise the risk of shadow IT in our ever-increasingly mobile dominated world.
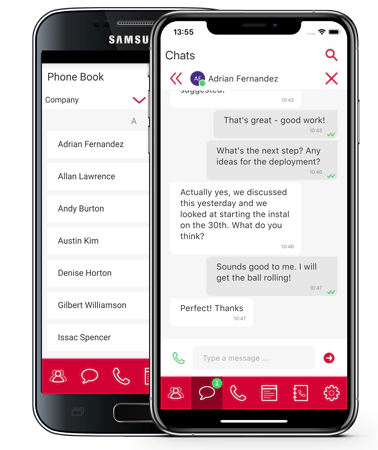
 pascom mobile UC
That said, deploying any old mobile Unified Communications app simply won’t cut it. It could cause more headaches and cost you more than it is worth. You will likely face compatibility and integration issues between the app and your chosen business communications platform. Then there is the potential for any updates to either the app or your business phone system that could well break the interconnection. On top of this, when using 3rd party apps, the consistent user experience (UX) delivered by business communications platforms such as pascom’s will be lost and this will have a negative impact on workplace productivity. Therefore, when choosing your phone system vendor, be sure to thoroughly test the mobile UC apps and explore the complete range of features, evaluate their effectiveness as a productivity and collaboration tool as well as investigating how simple they are to deploy, manage and update.
Just like with the pascom desktop UC clients, there are a few options for deploying our mobile UC applications. Once again, the simplest and quickest method is to use the pascom self-service setup assistants as it guides the users through the setup. However, should you need to reconfigure your setup at a later date (changed password, new device, etc.), alternative methods are just as straightforward and are outlined in our documentation.
Step 6 - Take The Pain Out Of Endpoint Management
Rolling out and managing VoIP endpoints (i.e. desktop IP phones) used to be somewhat labour intensive. There still is an element to the process that involves putting phones on desks and connecting them to the network, but providing your desktop phones are supported by your phone system vendor other than noting MAC and IP addresses, with a modern UC business phone system that should be pretty much it as the majority of configuration is done automatically by the phone system - eliminating a significant chunk of the rollout workload and greatly simplifying the on going device management as it can all be done centrally from the phone system admin web UI.
Once again, there are a number of options open to IT managers including the self-service option. However, we would not necessarily recommend this course of action, as it relies on end-users finding MAC and IP addresses and logging into the phones admin UI themselves - which is not overly efficient, especially if you have a larger number of users a number of whom will then invariably require IT support to get this done. Sadly, it does not matter how self-explanatory the guide is, there will always be users who simply do not want to follow it.
Our recommendation would be to import the phone addresses and automatically assign them to the intended users during the user management step. No matter whether you use AD, LDAP, UCS or CSV data sources, this option is available and all that is required is some prior planning and knowledge regarding where each phone will be located and then sticking to this when physically putting the phones on the desks.
Step 7 - Go Live With Your Chosen SIP Provider
Once you have deployed all your UCC clients and endpoints successfully, your team will be in a position to communicate and collaborate from all their preferred devices and from anywhere, unless of course, you used our automated system setup. In that case, you will have already added your SIP provider and can, therefore, skip this step and move on to step 8.
If not, here are a few tips on what to look out for when choosing and registering with your provider. Firstly, it is important to understand that while SIP has become the standard in telecoms, it is not standard in implementation. Each provider will require a slightly different configuration. Therefore, where possible opt for a SIP provider supported by your phone system vendor. Sadly this is not always possible. Therefore, to decipher which settings are supported, it is important to speak to both your phone system vendor and your SIP provider.
In terms of what to look out for the following information, options and settings are worth having to hand:
• Authentication options and credentials
• Transport layer protocol (TLS / UDP / TCP)
• Domain and host information
• Supported Codecs (HD, Opus, etc)
• Number formatting (international vs local and how they are presented)
• Where number determination, presentation, and restriction can be found
If you are using an Asterisk-based platform such as pascom’s and have experience with and access to the Command Line Interface (CLI), you can use the CLI with the appropriate verbosity level to view the registration and identify any potential issues.
Step 8 - Get Professional With Automatic Call Distribution
We’ve all heard of and experienced the horrors of poorly structured call queuing and distribution. On one hand, there is nothing worse than waiting for ages in a queue only to then be sent around the houses and still not have a satisfactory response to why you called in the first place. On the other, listening to a never-ending ringing tone gives the caller impression that their call is not important otherwise it would have been answered. In fact, there’s plenty of research out there that demonstrates how poor call handling has the potential to cost customers.
On the flip side, professional call distribution can have a significant positive impact on how customers view your business. Effective ACD delivers the image of a successful, larger well-established company that cares about customer service. Thankfully, setting up effective call distribution with a modern business phone system is not as complicated as it once was and can be broken down into the following aspects that you will need to consider for the most basic, yet effective call routing.
Business Hours
Handling calls differently according to your office hours is good practice. It ensures callers are not left waiting for their call to be answered outside of business hours. Combined with custom prompts and more advanced routing options, it is even possible to greet callers differently and route them to voicemail or to a team that is specifically tasked with handling callers outside of your main operating hours.
Custom prompts and Music on Hold
Custom prompts and Music on Hold (MoH) are essential components in any Business Communications platform. As such, they should be professionally produced and customised to your business. Alternatively, Google’s text to speech platform is pretty reliable and can produce your prompts in a matter of minutes.
You will need custom prompts for your greetings for both inside and outside of your business hours as well as prompts for your Interactive Voice Response options menus. Adding Music on Hold is also a good way of promoting your brand image. Choose the right genre to reflect your industry and clientele and ensure that the time that your customer is waiting in a queue is as enjoyable or relaxing as possible.
These are great for pre-qualifying callers and then routing them to the correct business department or team. In doing so, your employee productivity will rise as they are only dealing with calls that are relevant to them and your customer satisfaction will also get a boast as your customers will receive a higher standard of customer service.
Teams, Call Queues and Hunt Groups
The by no means last or least important aspect to consider when it comes to ACD is your call queues and groups. At pascom, we call these teams as that is what they reflect - teams of employees working together in a department, on a project, etc.
Depending on your requirements it is possible to configure teams either as a Queue or a Group and therefore use many different call strategies i.e. the order in which phones ring. Queues, for example, are ideal for larger teams that may require Skills-Based Routing or more complex call strategies. Meanwhile, Call or Hunt Groups are perfect for smaller groups that only require more basic call strategies such as ring all or one after another.
Test, Monitor and Improve
A word of warning though, if you get any aspect of your call routing wrong, the result will be the complete opposite, so it is worth checking out these IVR best practices and using analytics to constantly monitor, review and improve your call routing performance.
Final Word
While there is obviously more to upgrading your business communications, by following these 8 steps you will have laid solid foundations on which to build on and by choosing a pascom business phone system you will have all the required tools at your disposal and can be up and running inside of 15 minutes, as we demonstrate every Thursday in our pascom Bootcamp.
For more information or a personalised demonstration, give the pascom team a call on +49 991 29691 201 to discuss your requirements and get started within minutes using our free cloud business VoIP phone system edition.